Viewing entries tagged
Portrait Photography

Family Photography |  Including our furry friends!

1 Comment

Family Photography | Including our furry friends!

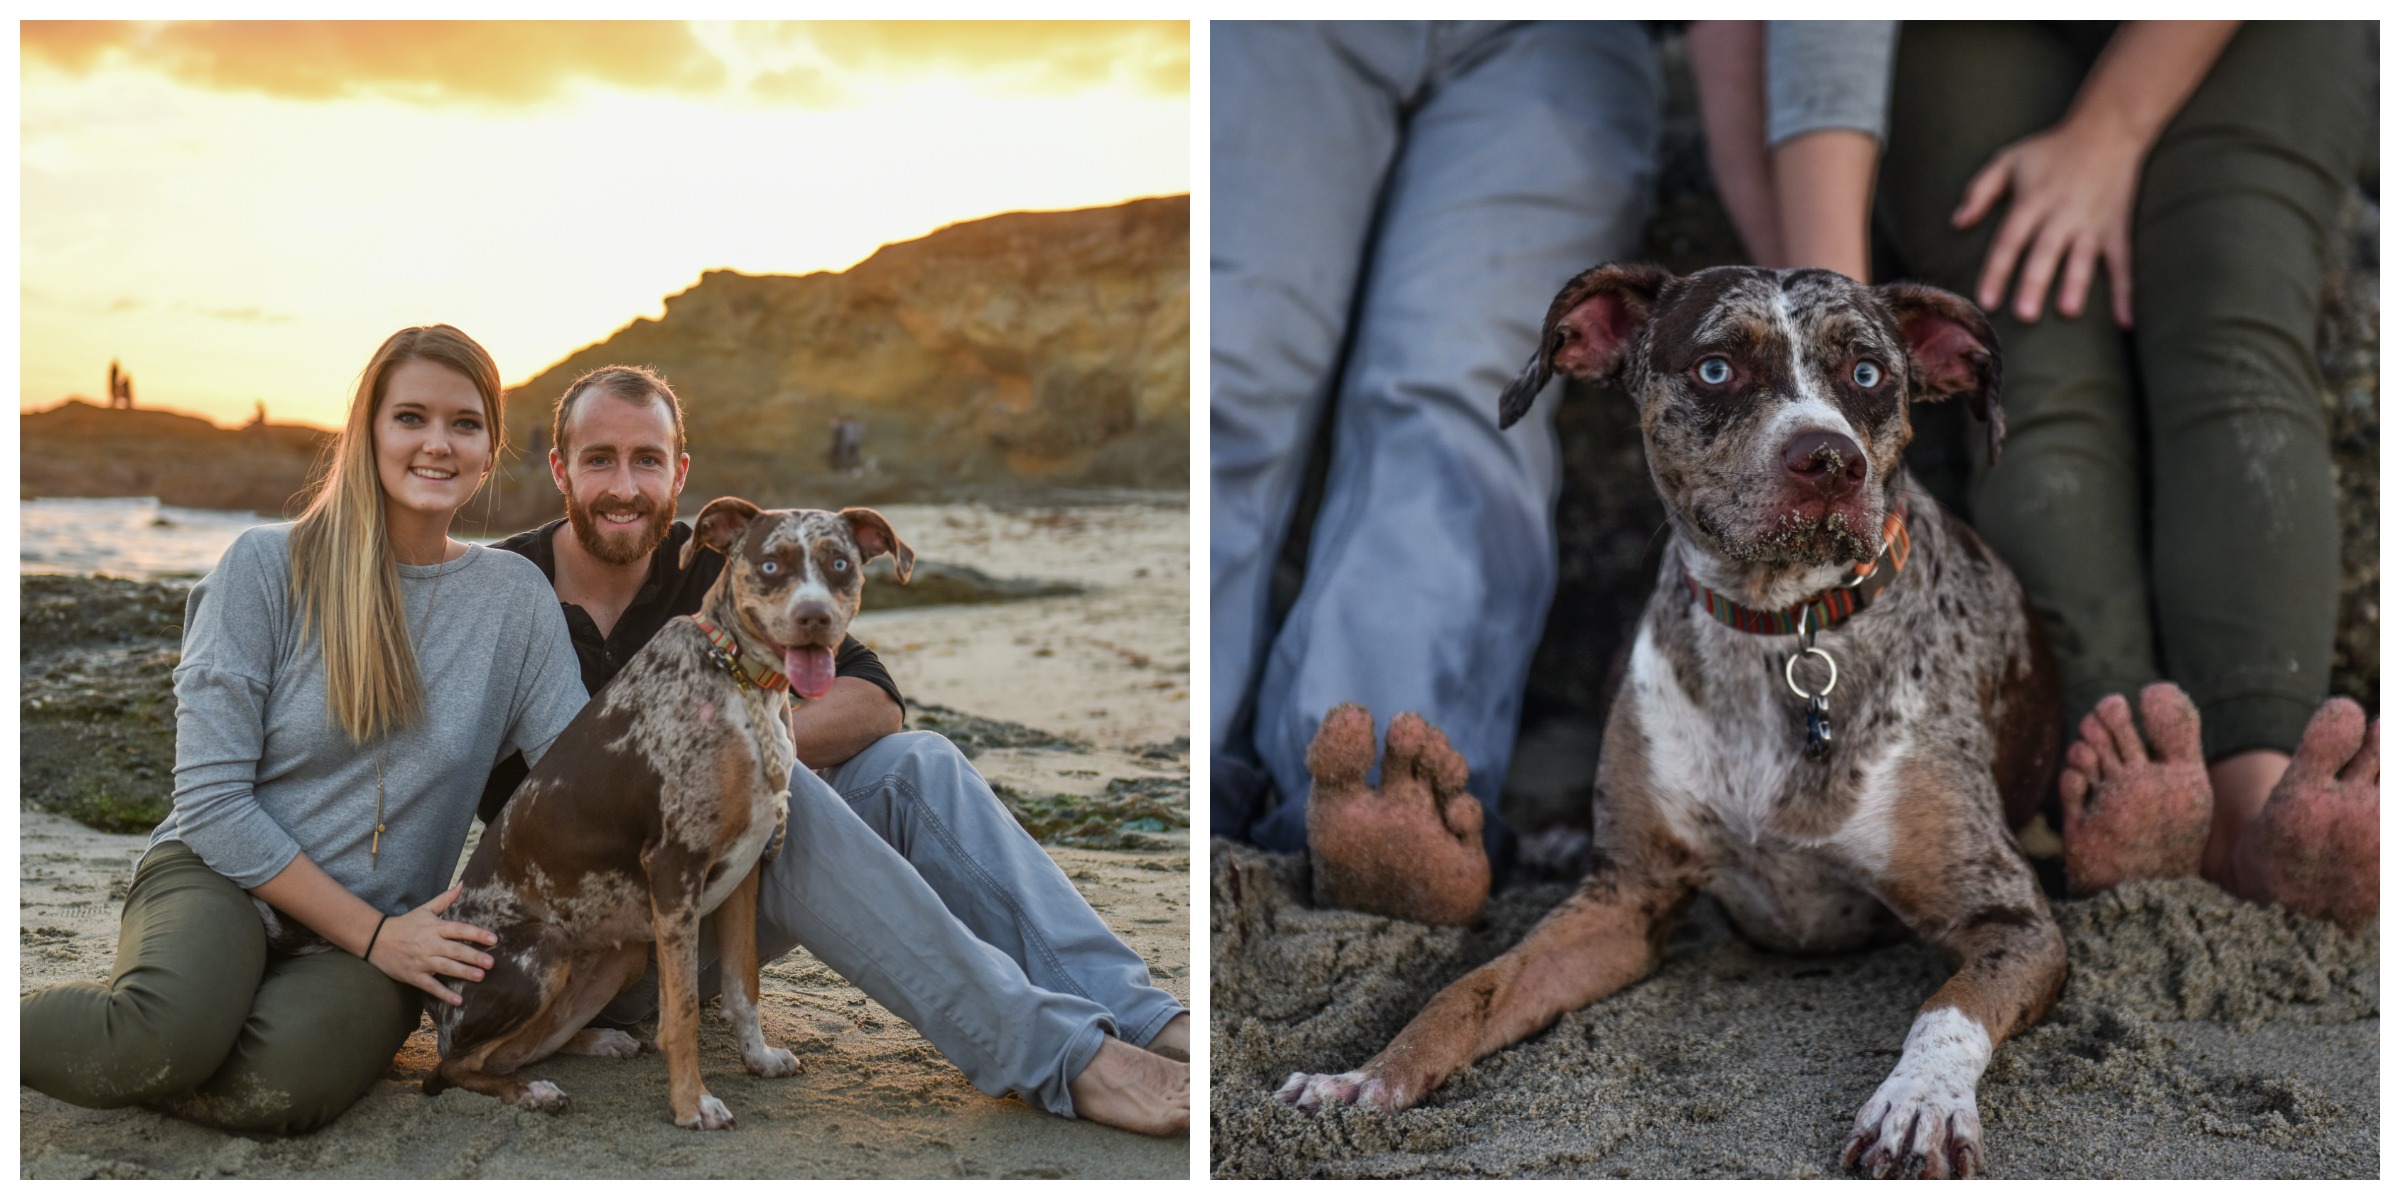
Animals are part of the family, too! It’s been a popular trend to include our furry friends in our family portrait sessions. This can be a hard task, but the results can be rewarding. Whether it’s photos for a Holiday Card or including a pet in your Wedding photos, here are some tips to consider:

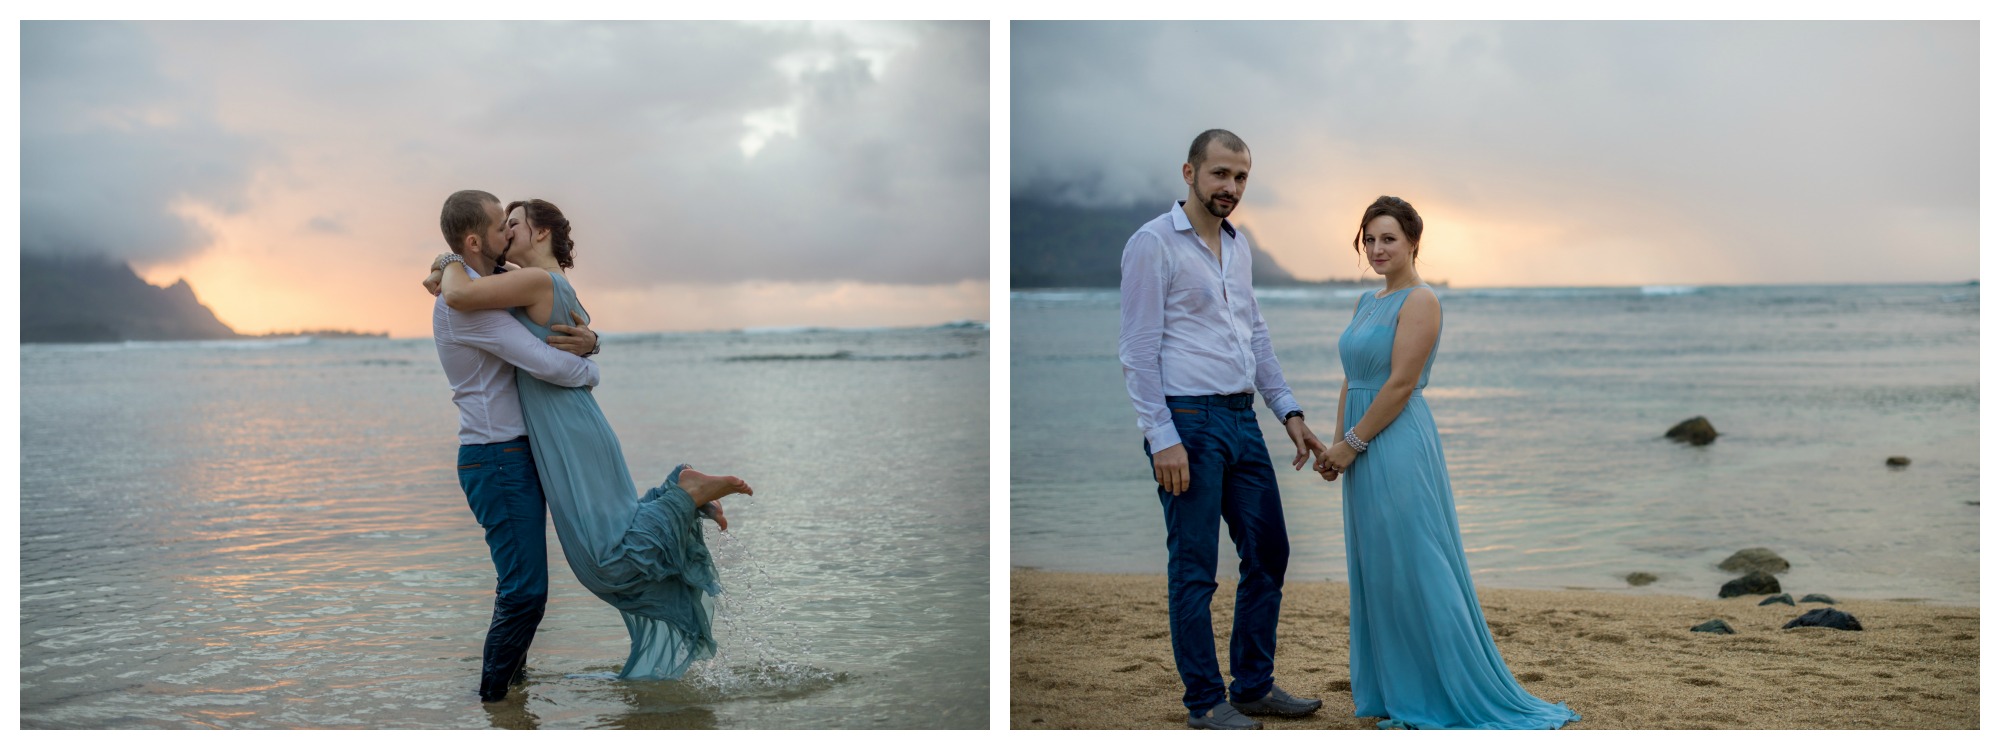
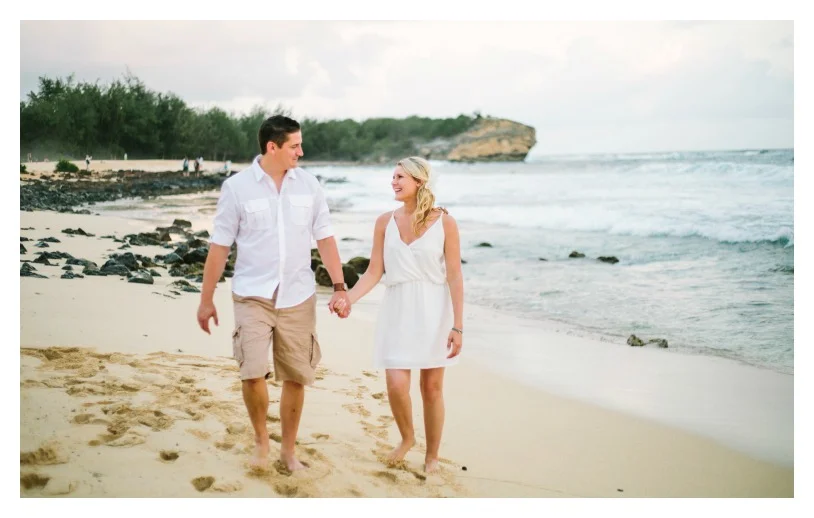
  • Pick a pet friendly location. In Laguna Beach, all beaches are dog-friendly within certain months of the year. Beach photography is perfect for animals because you can find your own perfect corner to yourself. It’s important to check beforehand if the location you have in mind allows your pets to join.
Pacific Dream Photography - California Photographer - Portrait Photographer - Family Photographer - Pet Photographer - Family Photography
  • Props! Clothes aren’t just for humans! Feel free to dress up your furry friends for the occasion. At Montage Laguna Beach, proposals and pet photography go hand in hand. One idea is to have your dog dressed up with the ring around their neck!
  • Walk them beforehand. We all know that dogs get excited easily, and when they know they are getting out of the house, they can get a little crazy. If you take them for a walk beforehand, it relieves some of their energy, making them slightly more calm for the photos.
Pacific Dream Photography - California Photographer - Portrait Photographer - Family Photographer - Pet Photographer - Family Photography
  • Bring treats! Dogs can become easily distracted, especially in an unfamiliar area with new people and smells. Bringing treats can help them focus on where the camera for a beach photo session.
Pacific Dream Photography - California Photographer - Portrait Photographer - Family Photographer - Pet Photographer - Family Photography
  • Have an extra friend/family member come along to help. Although you definitely want to have your dog in the photos, sometimes you need a little break. Having an extra set of hands will take some stress off your shoulders. It can also help by having the extra person handle the treats so the photographer can focus on capturing the perfect moment.

Written by Savannah S. (Pacific Dream Photography at the Montage Laguna Beach)

1 Comment

Montage Laguna Beach || California

Comment

Montage Laguna Beach || California

California has been romanticized for decades. The state itself has such a vast variety of landscapes including the gorgeous beaches, miles of dessert, looming mountain ranges, and bright cities.

People from all over come here to visit and see what it has to offer. Being a photographer in Laguna Beach, I see people doing “staycations” all the time! Even if they live in a nearby city, they still come to this small beach city to spend their time.

At Montage Laguna Beach, it is so easy to completely lose track of time and spend your day at the beach, spa, or going on a stroll through their beautiful pathways lined with stunning flowers and greenery.

There is no better place to take photos of our guests then right here on the property. We don’t have to go far to capture the essence that this resort has to offer.

Written by Savannah S. (Pacific Dream Photography at Montage Laguna Beach)

Comment

Anniversary || Year One

Comment

Anniversary || Year One

Is there anywhere more beautiful to celebrate life and love than here on Kauai?! From the moment you step of the plane in Lihue you will be hit by a wave of humidity. Get prepared to slow down, relax, and enjoy a well-deserved break from life. As the oldest of all the Hawaiian Islands, Kauai’s ancient lush beauty is hard to overlook.

Celebrating their first anniversary, Mr. and Mrs. Kelley knew they chose wisely by coming to Kauai, and staying at the Grand Hyatt. Enamored by the island, they spent their days here resting near the 5-acre pool, and also doing a fair share of exploring too.

With so much to offer, from the spa amenities to a salt-water lagoon you can actually kayak in, it’s easy to stay close to the resort; but, don’t miss out on what Kauai has to offer. Kauai is very unique compared to the rest of the Hawaiian island chain.

The Kelley’s discovered this and set out to explore the Waimea Canyon, which is known as the Grand Canyon of the Pacific. Imagine the Grand Canyon carpeted with a vibrant green jungle landscape, littered with trails and gorgeous scenic overlooks.

Head east and discover the largest navigable river in all of Hawaii, the Wailua River. Kayak or take a boat tour to top and find the river’s fresh water pouring down from Mt. Wai’ale’ale, one of the wettest spots on the planet. It lands at the Fern Grotto, and along the river at the sacred capital of ancient Kauai and the birthplace of the island’s Ali’i, or royalty.

Whether you are visiting Kauai for the first time or the tenth, there is always something to do or somewhere new to explore.  The most difficult part of vacationing here with us at the Grand Hyatt, Kauai, is deciding what you want to do first. 

Written by Micheal W. (Pacific Dream Photography at The Grand Hyatt Kauai

Comment

8 Tips You Should Know About Photography Posing

1 Comment

8 Tips You Should Know About Photography Posing

These tips are by no means official rules, but are intended to be guidelines or a general rule of thumb” that photographers use and clients should be aware of. Not all of them will fit everyone’s style and some may or may not be used depending on the type of photo shoot you are focusing on. 

1.  Do not shoot people straight on from the front. Sometimes hips or shoulders can be the widest areas of our bodies and shooting dead on will only accentuate these parts. If you angle your body, by turning it slightly to the side at a ¾ angle, it will be much more flattering. 

2.  Shooting from below is a “no-no”. Shooting from below shows off the things we generally do not like: nostrils, chins, hips, etc. Instead when you are shot from above (or eye level), all those unflattering angles appear slimmer, smaller. Who can complain about that?! 

3.  Speaking of noses and nostrils, No “nose-up”. I am sure you do not need pictures where you can see up your nostrils, so it’s helpful and much more flattering to tilt your head down slightly and not up. This small movement can make a huge difference in your images. 

4.  “If it bends, bend it”. Standing stiff and straight will only show that you are uncomfortable and not relaxed. If you bend your arms and shift your weight to the back so your front knee is slightly bent, or tilt your head into your partner the photos will look more natural.  If you feel uncomfortable, your photos will show this. 

5.  Do not always stare deeply into the camera. Look past the camera or down over your shoulder to provide a different emotion and variety to your images. 

6.  Do something with your hands. Leaving your arms pressed against your sides is just not pretty. (This is not the case for everyone.) This can be avoided by slightly bending them at the elbow and puling them away from your body:  putting them on your hips, holding an object, or placing them in front or back pockets. 

7.  Too much smiling may mean your face will get stiff. If you feel this happening take a deep breath and breathe out through your mouth. Still feeling stiff? Do the “pufferfish”, where you blow up their cheeks and then let it all out. This helps your face to relax and your pictures will look more natural.

8.  Be open, try new things.  Most likely your photographer will try to get a lot of fun, candid shots, but will also help pose you in ways that may be new and different to you. Relax and go with it! 

Enjoy your session and ultimately have fun!!  

-written by Alyssa (Pacific Dream Photography at the St. Regis Princeville)

1 Comment

Exposure Explained || One Easy Tip From a Professional Photographer

Comment

Exposure Explained || One Easy Tip From a Professional Photographer

Have you ever wondered just what it takes to get a “goodsunset picture? Cameras have become so readily available to us now with the digital age and camera phones, which seem to take decent pictures, but there’s much more to it than just pushing a button, right? Well, of course there is!

Photography is a wonderful art form, but it can be complicated. One of the most important components of photography is exposure. This is the balance between shutter speed, ISO, and aperture. Although, most cameras these days have an “auto mode”, this simple setting does not capture the best image. 

When it comes to exposure, there is no right or wrong. Photography is art and every artist has a different vision. Most of us are not attempting to communicate deep or even simple messages with our images, we are purely trying to capture the moment. In this case, there is a trick!

Unlike film, digital photography is limited and can only capture so many levels of light in a single click. The trick, especially when photographing a sunset experience session, is to avoid over exposing an image and losing detail in the sky. If you are composing a sunset with a foreground, typically the foreground is much darker, which confuse a camera’s exposure meter. The camera might try to balance the exposure, preserving detail in the dark foreground, while losing detail in the sky.

The trick is to underexpose the picture slightly, exposing for the bright sky. This will let the foreground go dark. It is much easier to recover detail in the shadow portion of a digital image when editing than it is to recover the highlights and brighter areas. Lost detail in the highlights are nearly unrecoverable. 

One recommendation would be to set the +/- (exposure compensation) to -1/3 so the camera will automatically underexpose. This technique is actually called “push processing” and will make your pictures have more vibrant and saturated colors, with greater contrast. 

A rule of thumb to keep in mind: underexpose slightly to preserve highlights and edit to bring back shadow detail. Happy shooting!

-written by Michael (Pacific Dream Photography at Grand Hyatt, Kauai)


Comment

Wedding Re-Creation at the Grand Hyatt Kauai

Comment

Wedding Re-Creation at the Grand Hyatt Kauai

What would you do if you received your much anticipated wedding photos, while on your honeymoon at the Grand Hyatt Kauai, only to find that they are a complete disaster?! Well, Brian and Morgan immediately sought out Pacific Dream Photography to “re-create” their mainland wedding images. We jumped at the opportunity to capture beautiful moments of the newlyweds on Kauai. 

Morgan, the “bride”, made an appointment to get her hair and makeup done at the Anara Spa and found a perfect beach appropriate white dress. Their photographer Elena, who happens to be our primary wedding photographer here on Kauai, met the couple for their sunset experience photo session and could instantly feel their excitement! With the beautiful grounds of the Grand Hyatt and Shipwrecks Beach as backdrops, and the natural chemistry the couple shared in front of the camera, we knew they would not be disappointed. 

The viewing came the following afternoon and from the first glance, the honeymooners were ecstatic! Every photography session that we have the privilege of shooting here in Kauai is special, but being able to give this couple the wedding pictures of their dreams was really amazing. Congratulations again Brian and Morgan! Thank you for allowing Pacific Dream to “re-create” your wedding day. It was truly an honor! 

If you ever find yourself in a similar position as Brian and Morgan, where you just need a “re-do”, we would love to be the solution. Or if you need an excuse to get dressed up and have your picture taken in the beautiful Hawaiian Islands, we would love to be a part of your vacation or special event!

-written by Alyssa (Pacific Dream Photography at Grand Hyatt, Kauai)


Comment

Tips from a Portrait Photographer in Hawaii

1 Comment

Tips from a Portrait Photographer in Hawaii

A beautiful portrait looks clean and effortless, but whether you are shooting a portrait for a professional headshot, bridal portrait, maternity pictures.... there are some key points to creating a flattering and exciting image. 

-Utilize beautiful natural light. Using the first and last hours of the day gives you a beautiful warm golden light that is flattering on subjects. This softer light is easier on the eyes, and creates beautiful tones on skin. 

Hawaii Photographer, Pacific Dream Photographer - Portrait Photography

- Use a longer lens. Using longer lenses (or primes) helps give your image a compressed look that is more flattering. If you have a 70-200 lens, take a few steps back and really zoom into your subject. You will get a more flattering angle on your subject, and the focus will be on them, removing any distracting backgrounds. Wide angle can make your subject's foreheads or chins look larger than they are.

- Use a low aperture. For a single person, you can go as low as possible. We want our subject's eyes and face to be crisp and clear and everything else to soften out of focus. 

- When possible, we love to use a key light and a backlight, or key light and a side fill light. If you are inside, try positioning your subject by a window. You can then use a reflector to fill in the shadowed side of their face so that you aren't getting anything too contrasted. You want more even, flattering light. If you are outside, try to position the subject with their back to the sun, I then use reflectors or flash to fill in the shadows on their face. Try not to side light a subject unless they have perfect skin and facial structure. I love using reflectors because you get that big white sparkle in your subjects eyes which is what really brings them to life.

- Don't get too much of a side angle on your subject. A little bit of face to the side is good. If you overdo it, your light is going to fall off the side of their face and get blocked by their nose. 

Hawaii Photographer, Pacific Dream Photographer - Portrait Photography

- Try to have a little height on your subject. Whatever is closer to your cameras focus point is going to appear slightly larger. If you are slightly elevated at your subjects eye level shooting slightly down, the eyes are going to be slightly larger, which is more flattering. If you are down too low shooting a portrait often times the nose and chin will appear largest.

Keep these tips in mind and there is no way you can go wrong!

written by Julia (Pacific Dream Photography at The Kahala Resort)

1 Comment