Viewing entries tagged
fun photography

8 Tips You Should Know About Photography Posing

1 Comment

8 Tips You Should Know About Photography Posing

These tips are by no means official rules, but are intended to be guidelines or a general rule of thumb” that photographers use and clients should be aware of. Not all of them will fit everyone’s style and some may or may not be used depending on the type of photo shoot you are focusing on. 

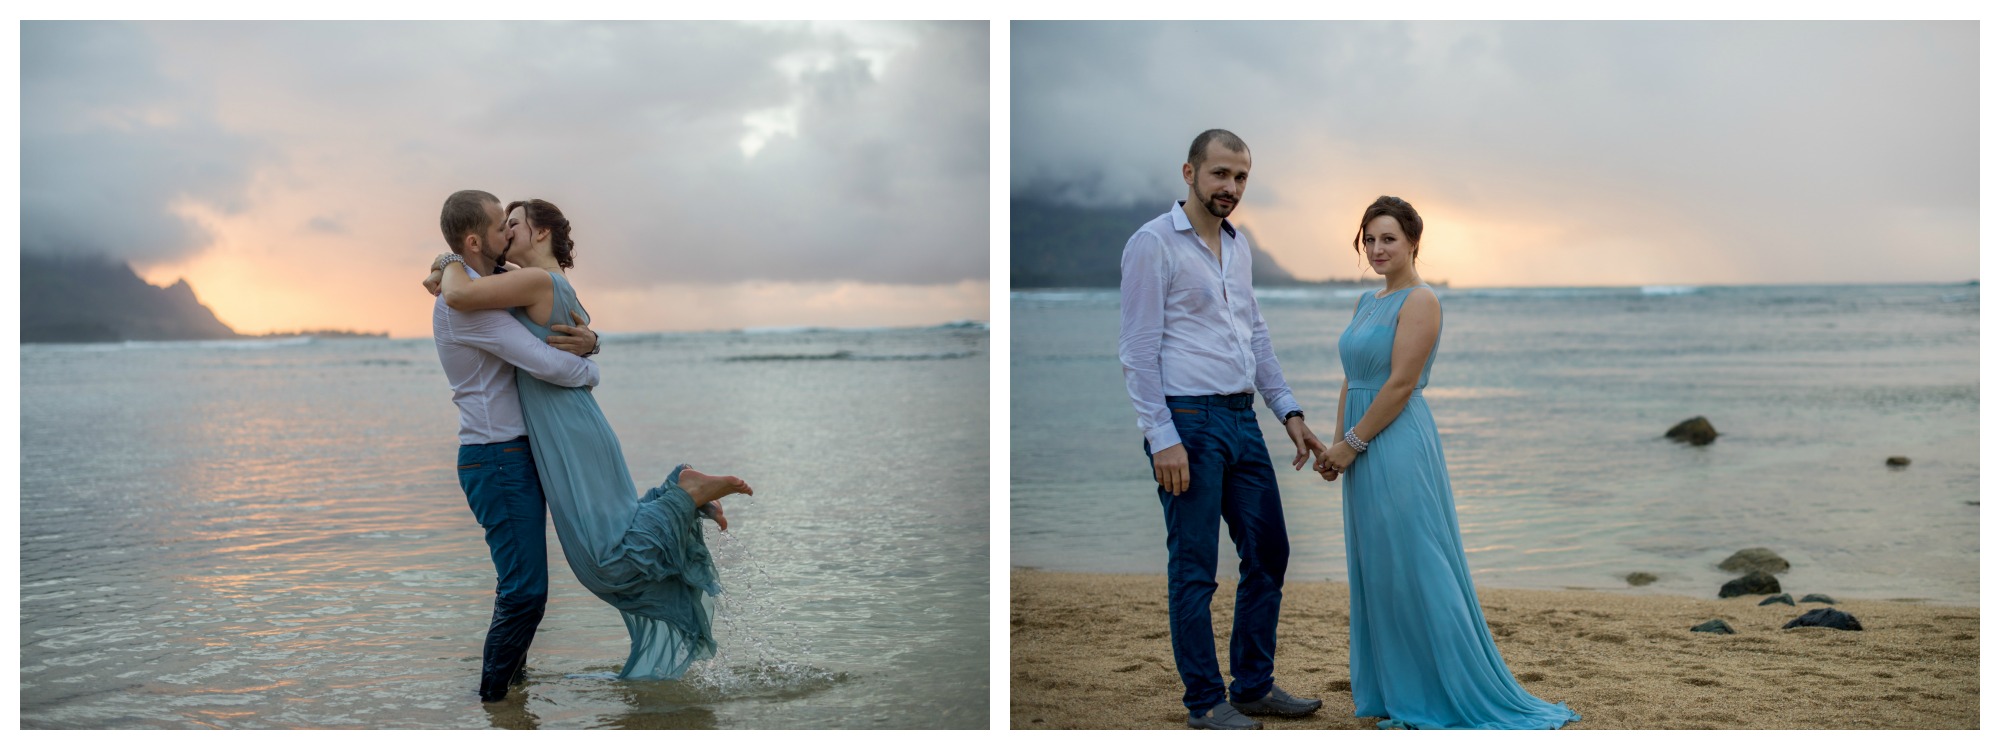
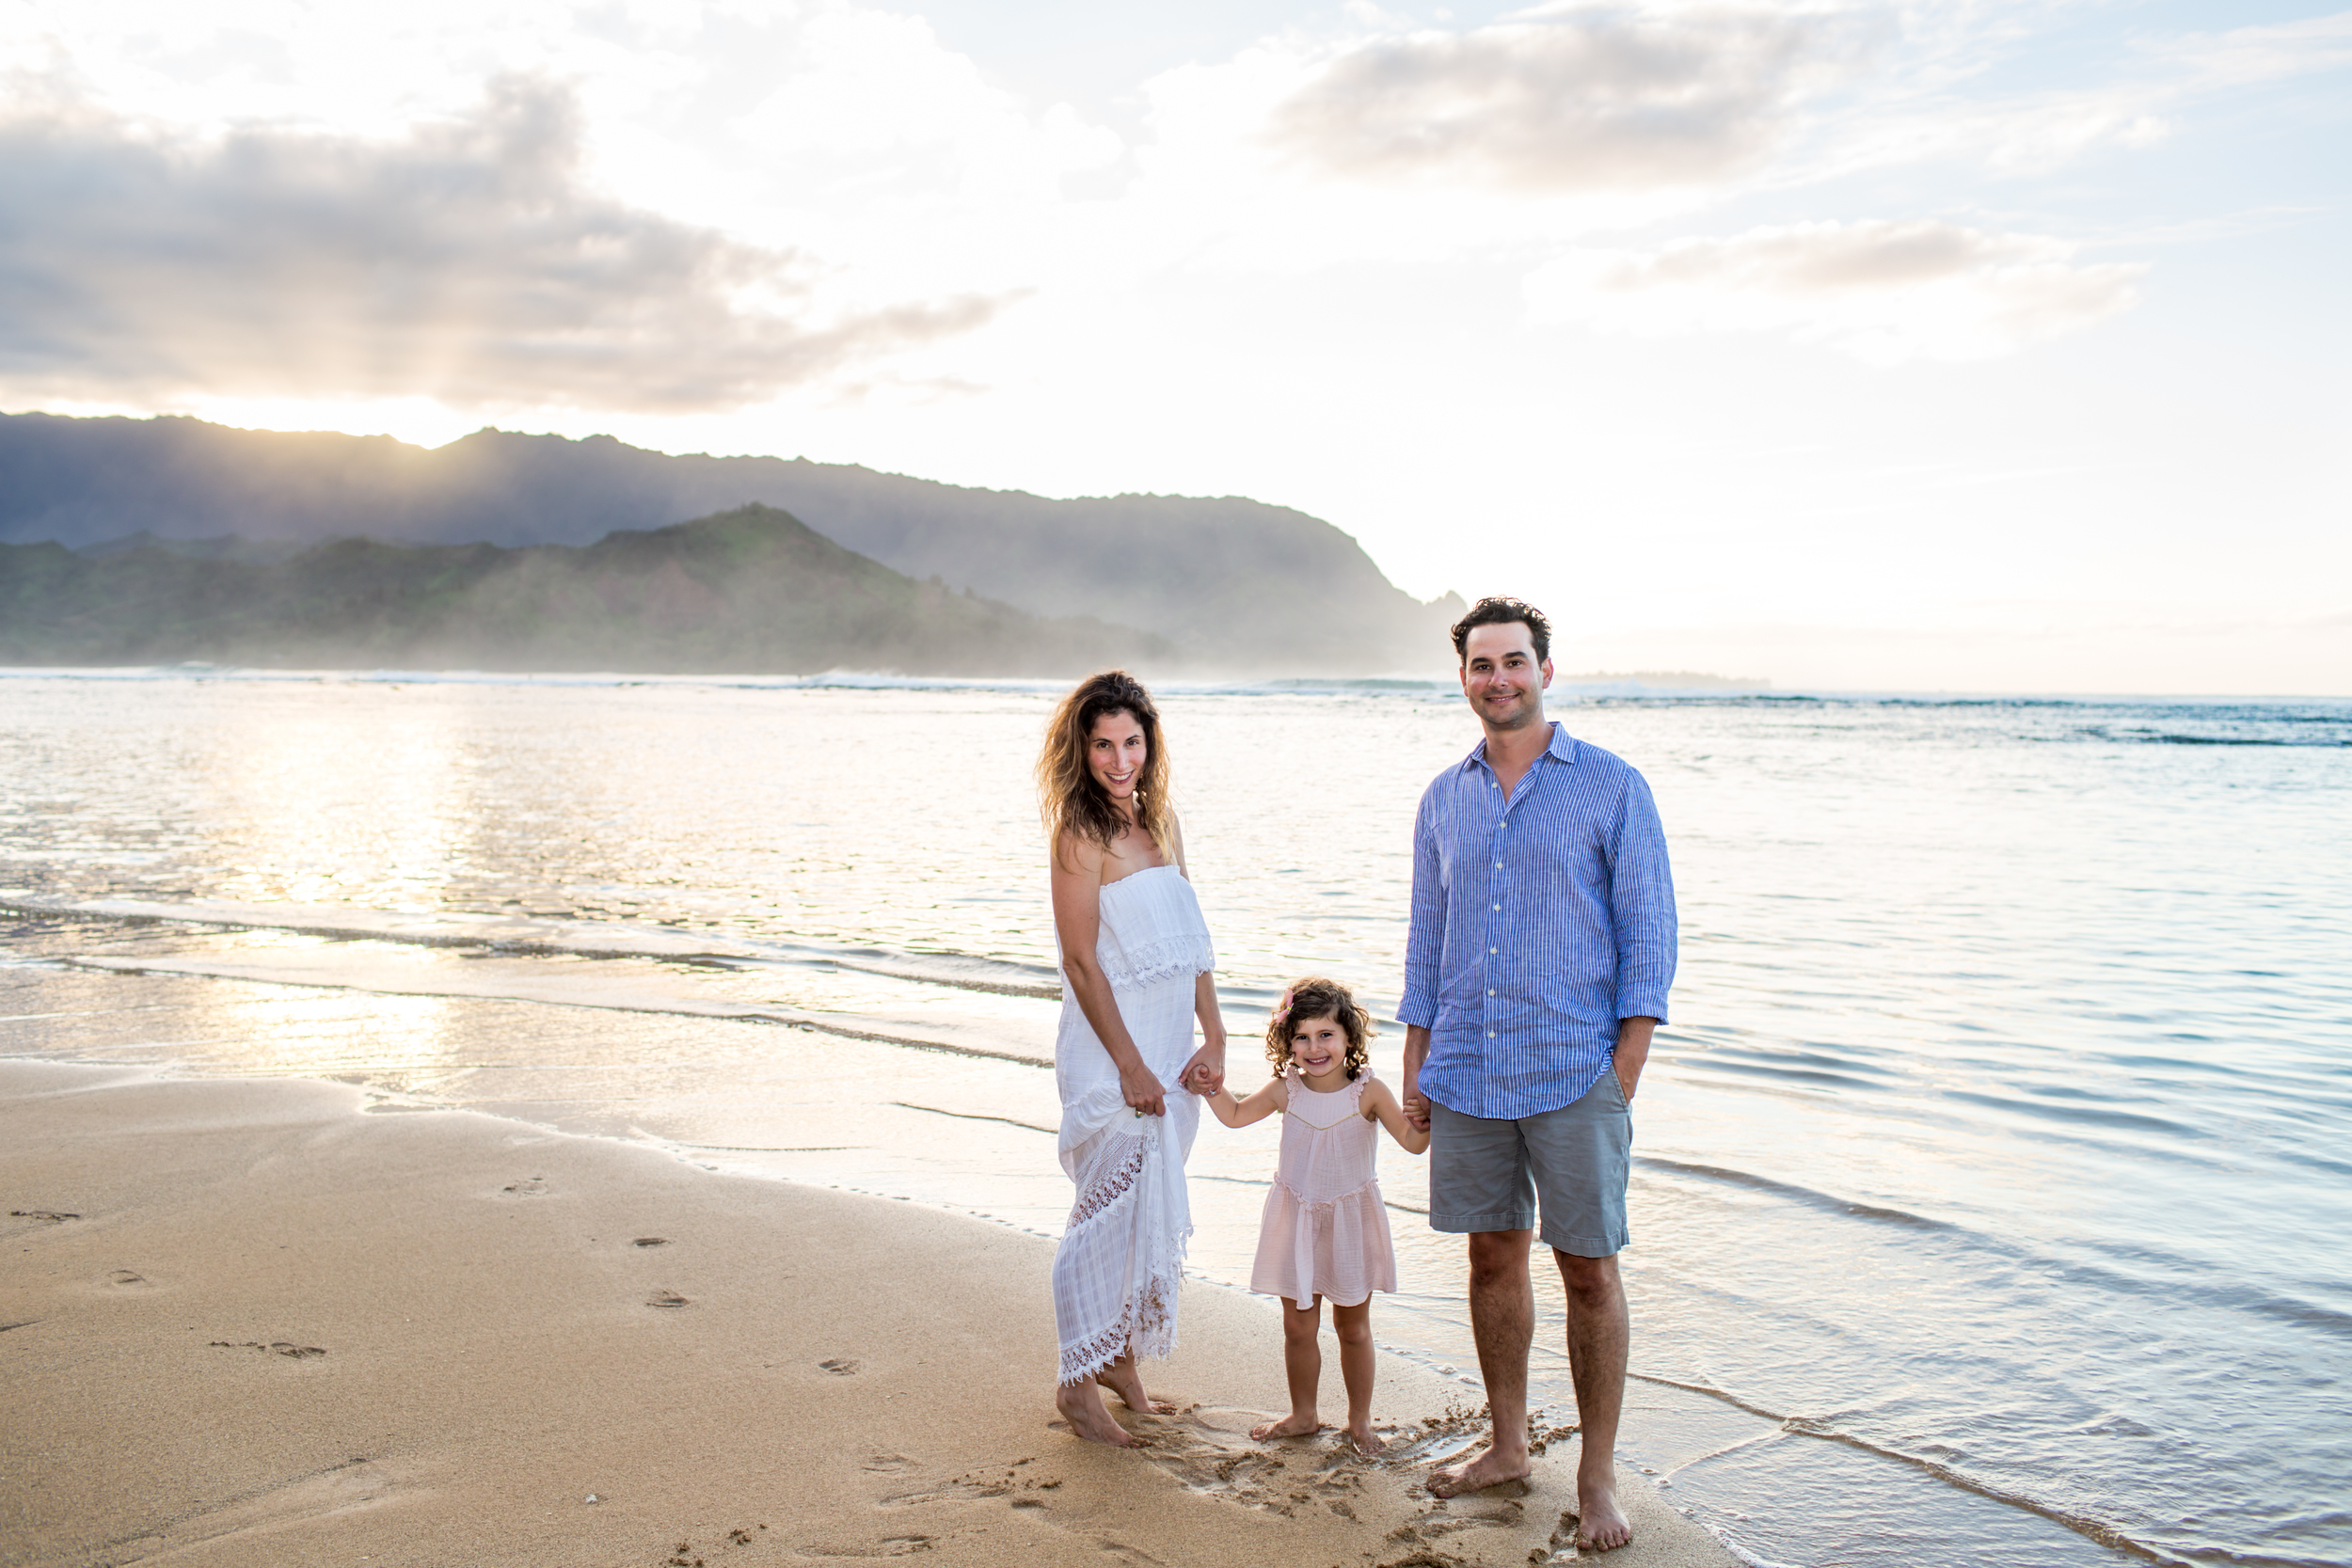
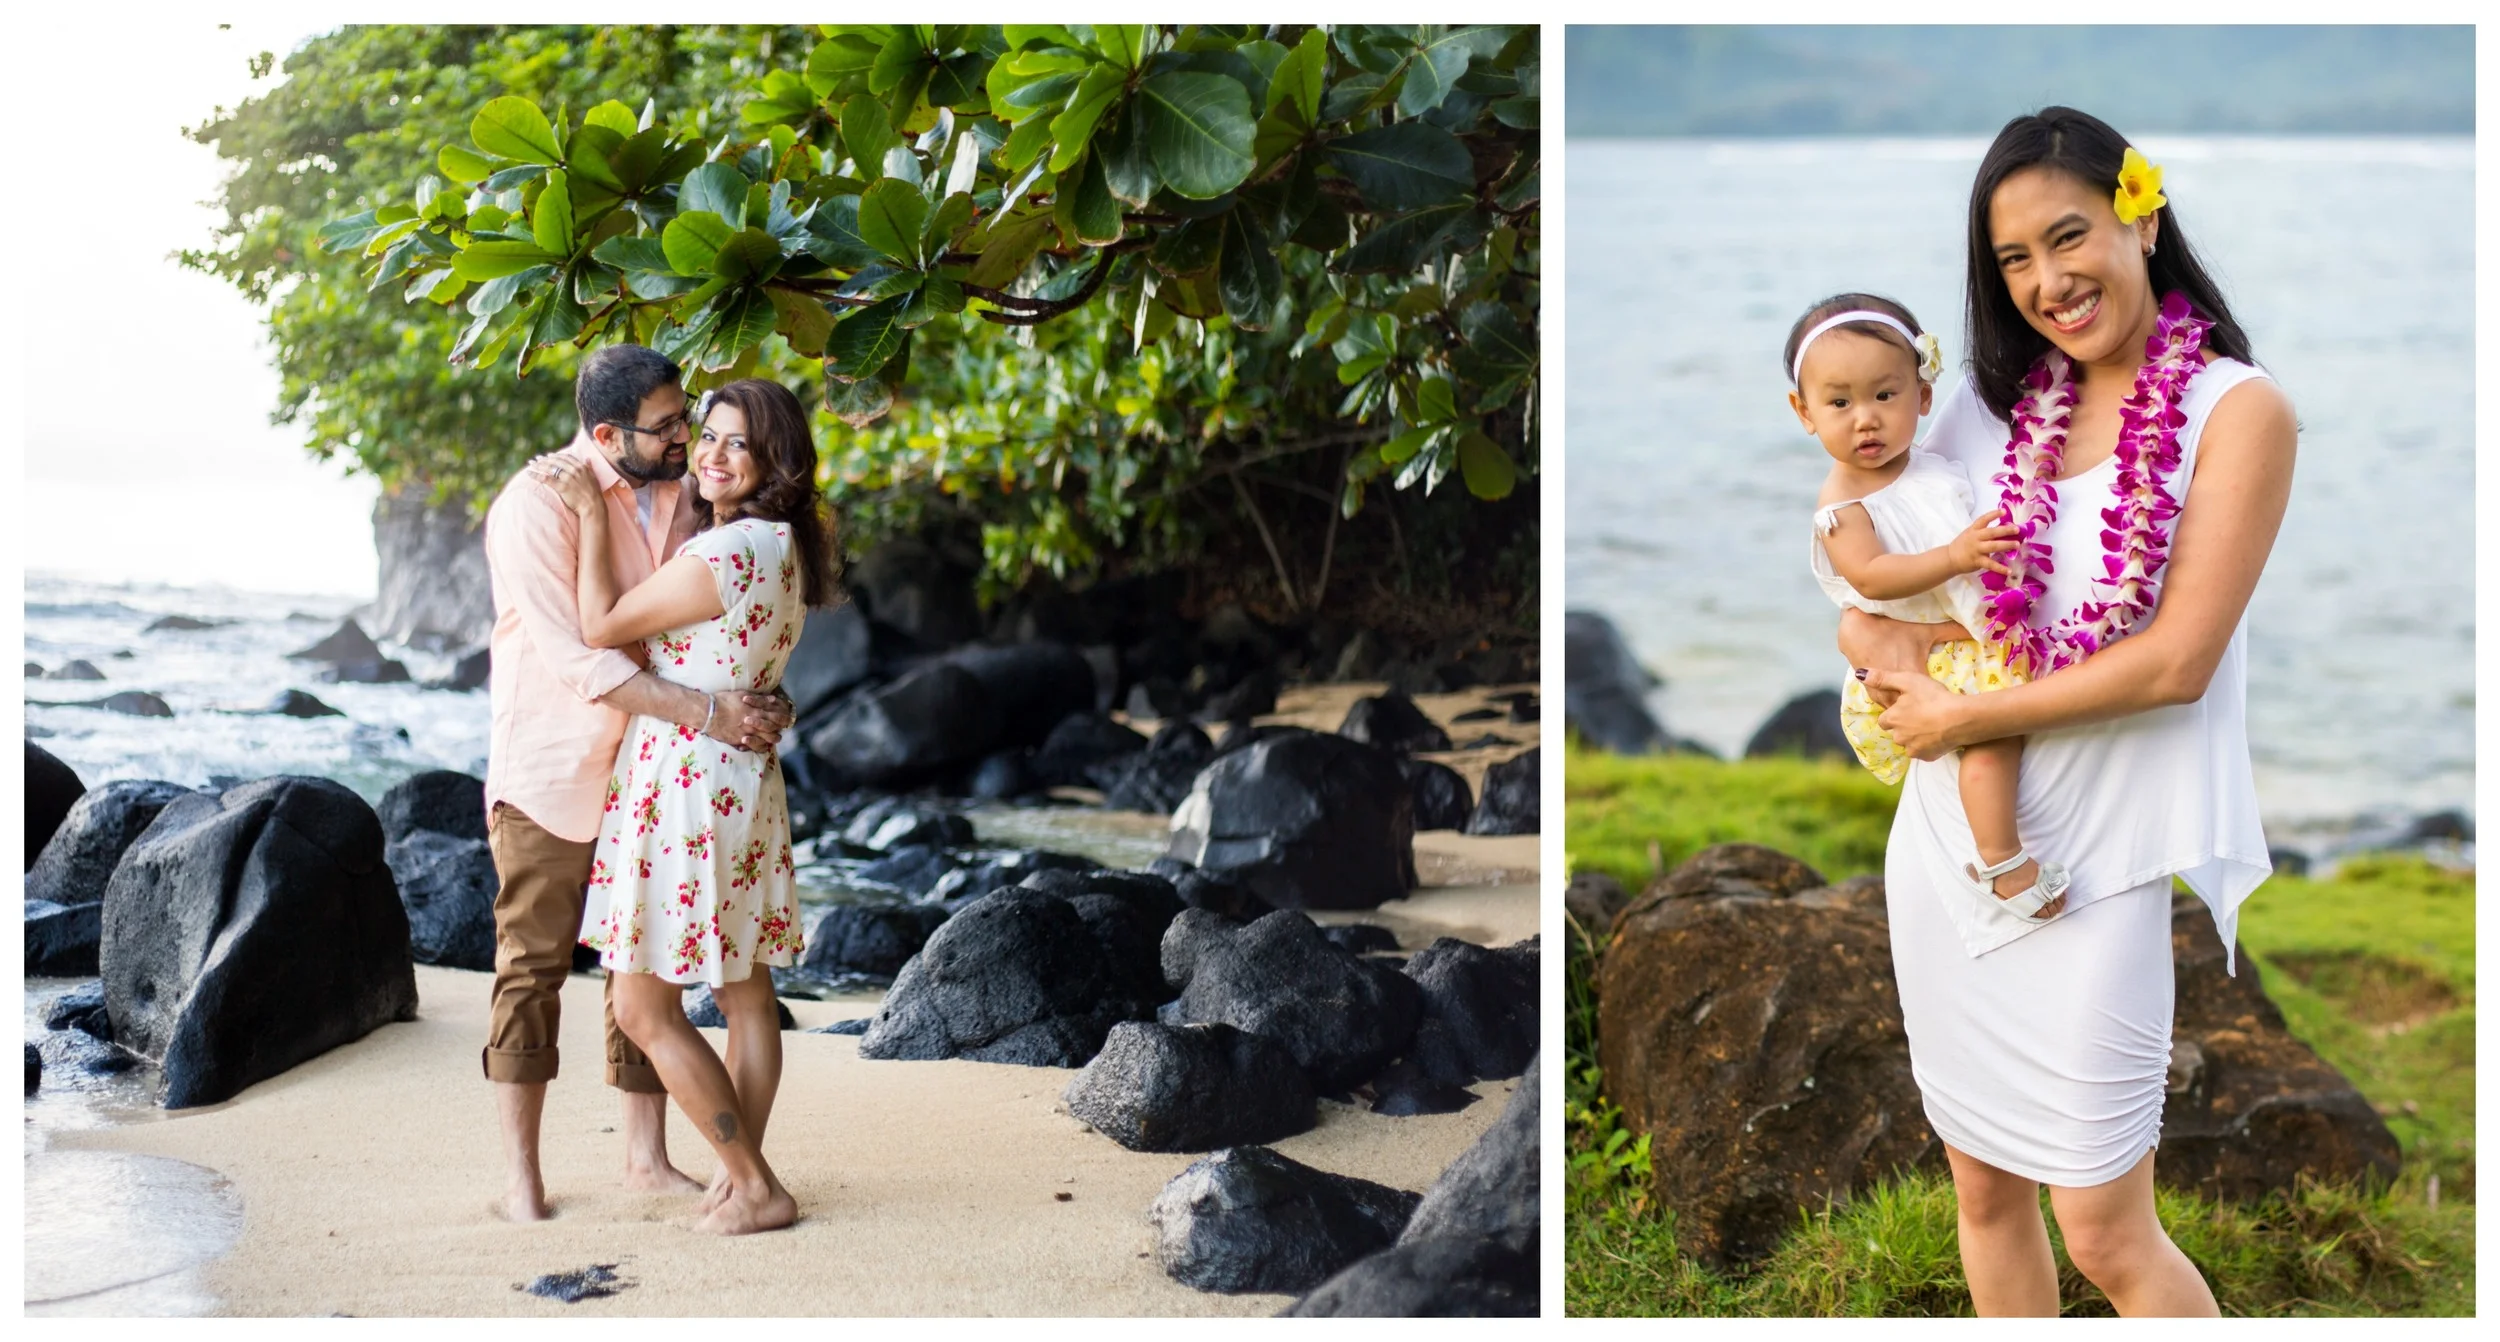
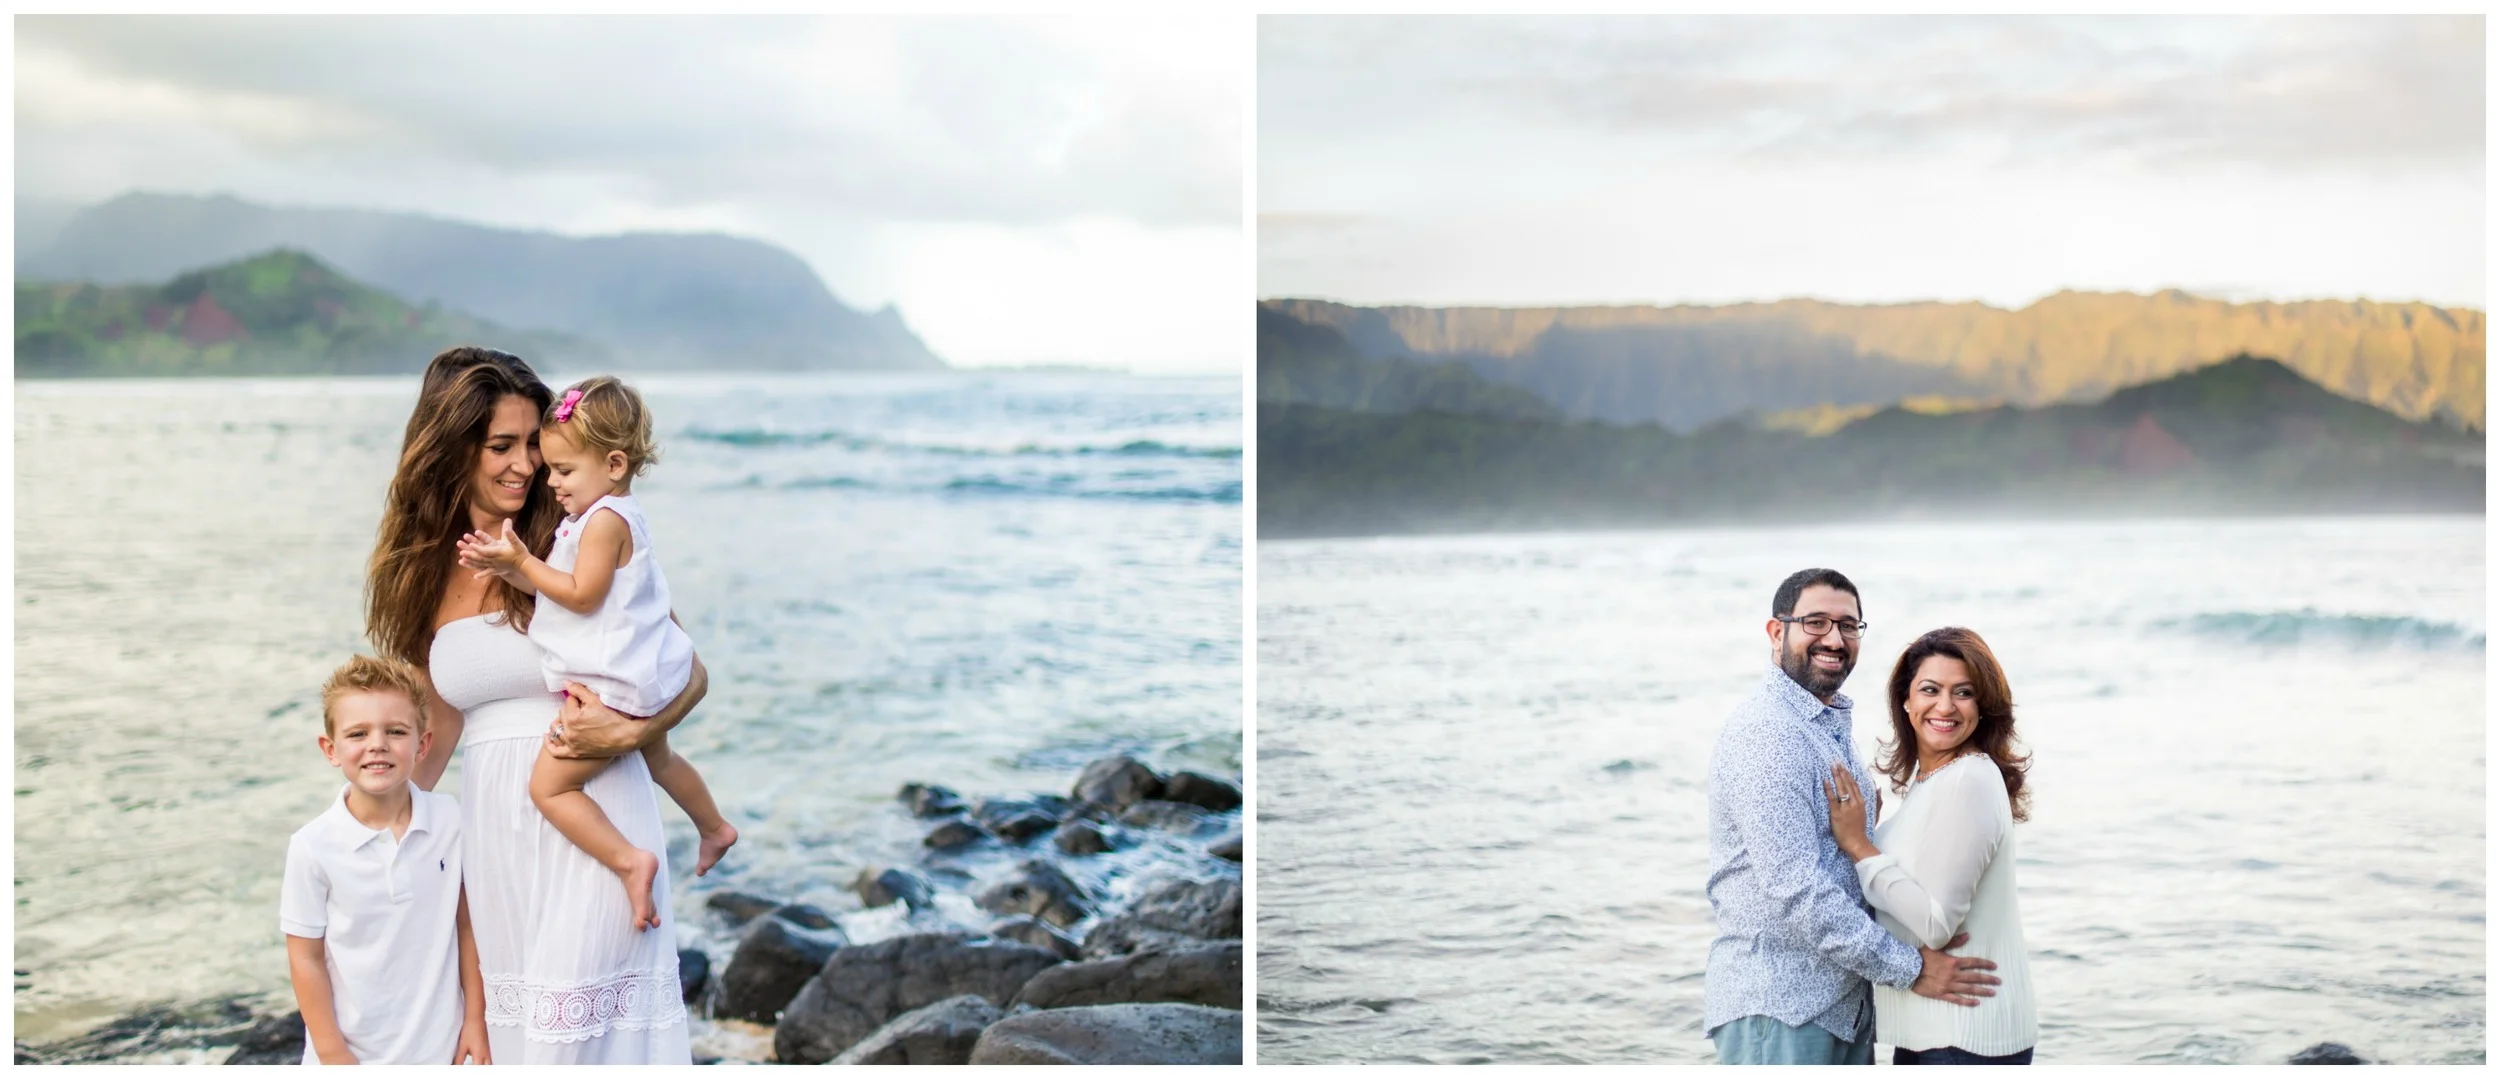
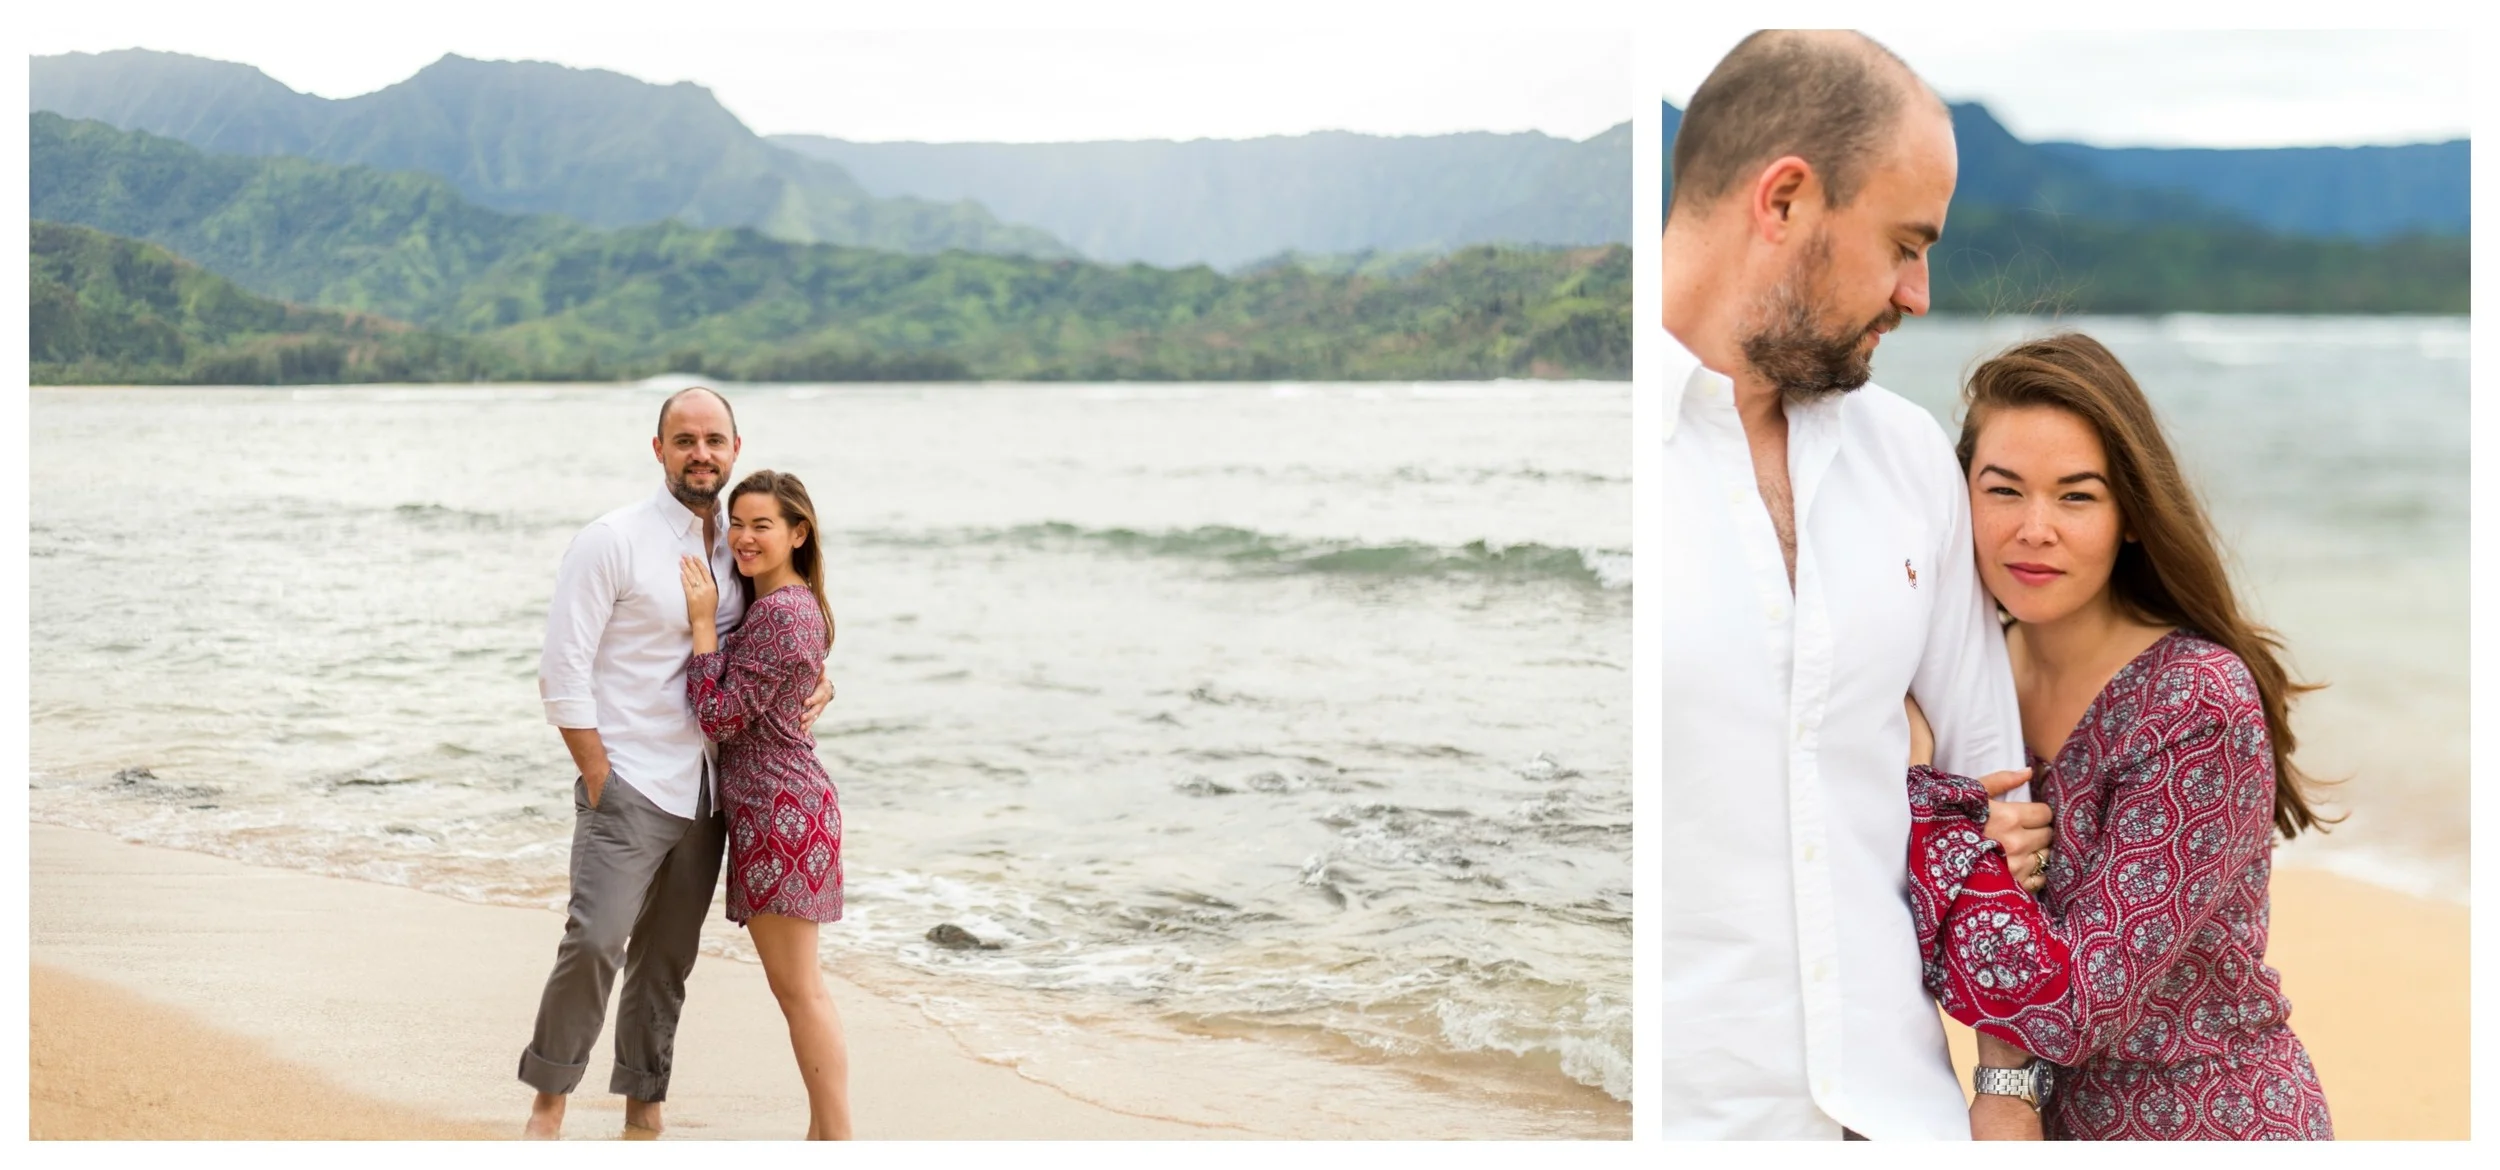
1.  Do not shoot people straight on from the front. Sometimes hips or shoulders can be the widest areas of our bodies and shooting dead on will only accentuate these parts. If you angle your body, by turning it slightly to the side at a ¾ angle, it will be much more flattering. 

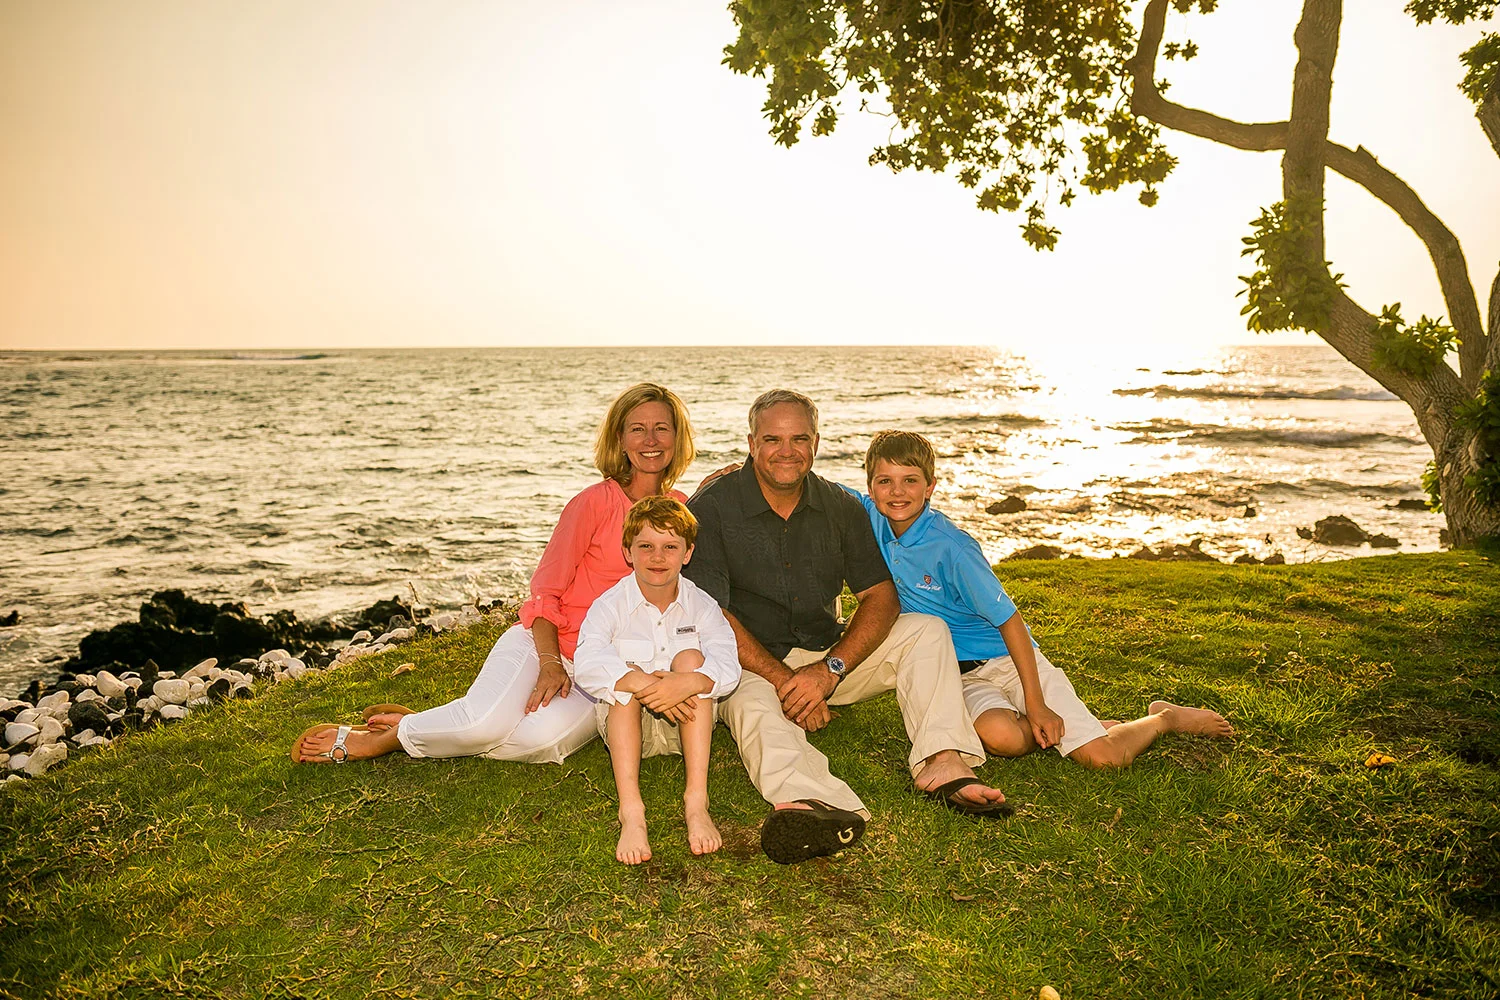
2.  Shooting from below is a “no-no”. Shooting from below shows off the things we generally do not like: nostrils, chins, hips, etc. Instead when you are shot from above (or eye level), all those unflattering angles appear slimmer, smaller. Who can complain about that?! 

3.  Speaking of noses and nostrils, No “nose-up”. I am sure you do not need pictures where you can see up your nostrils, so it’s helpful and much more flattering to tilt your head down slightly and not up. This small movement can make a huge difference in your images. 

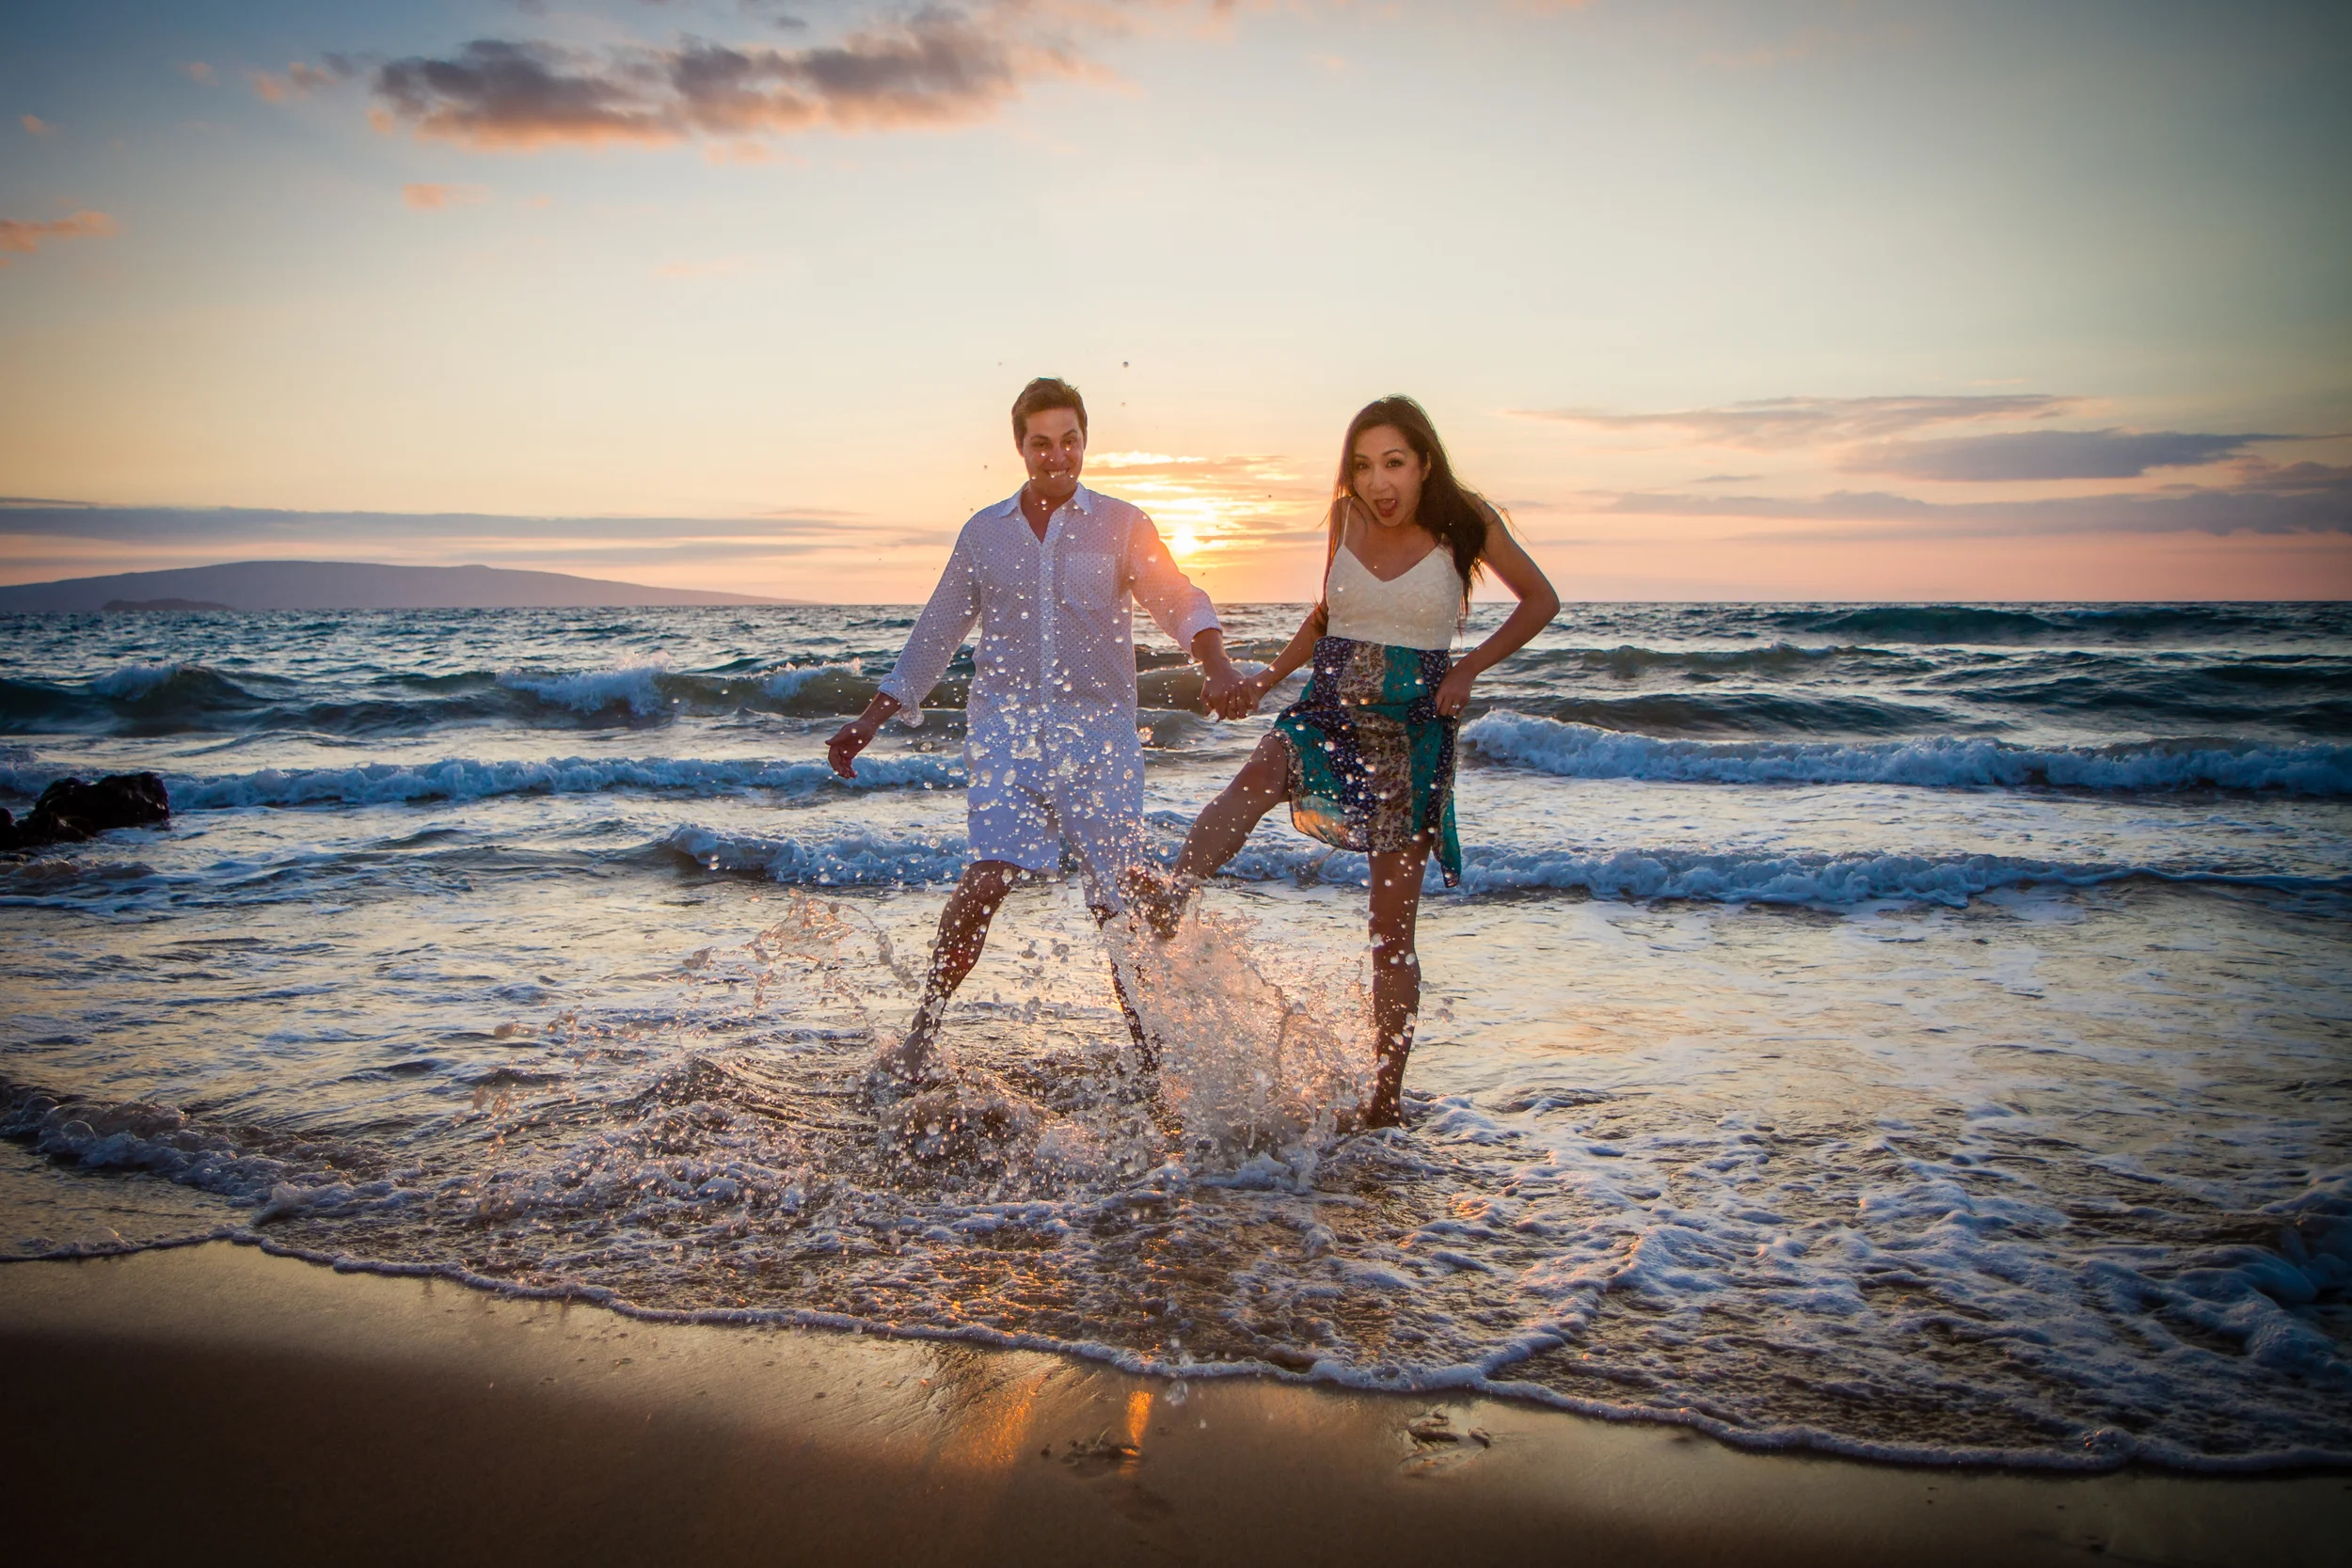
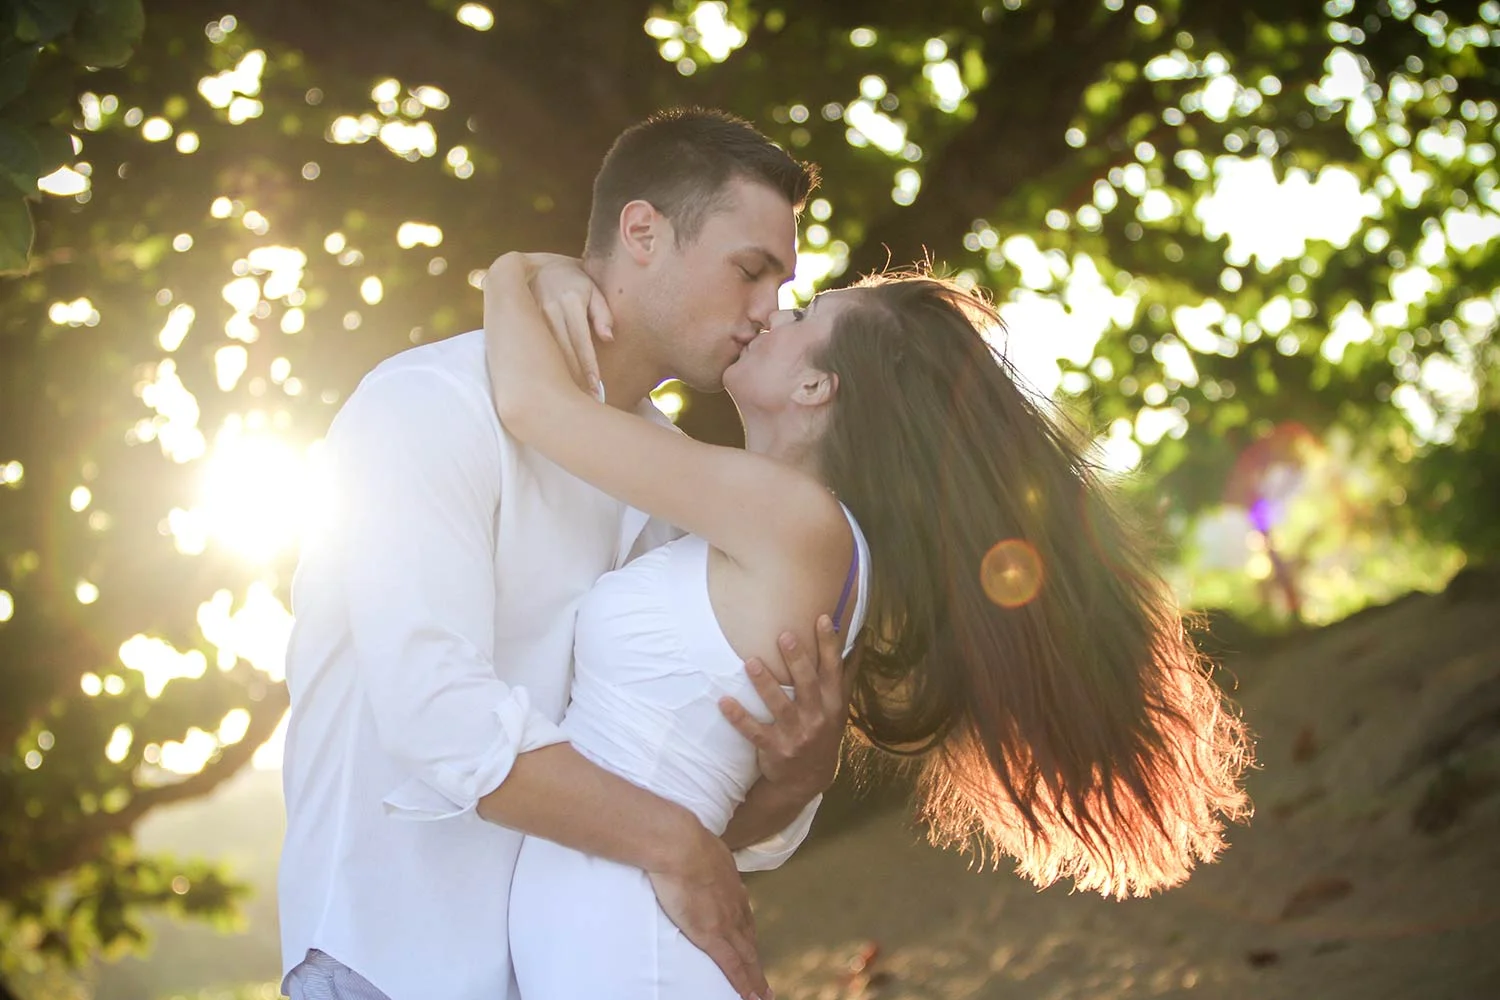
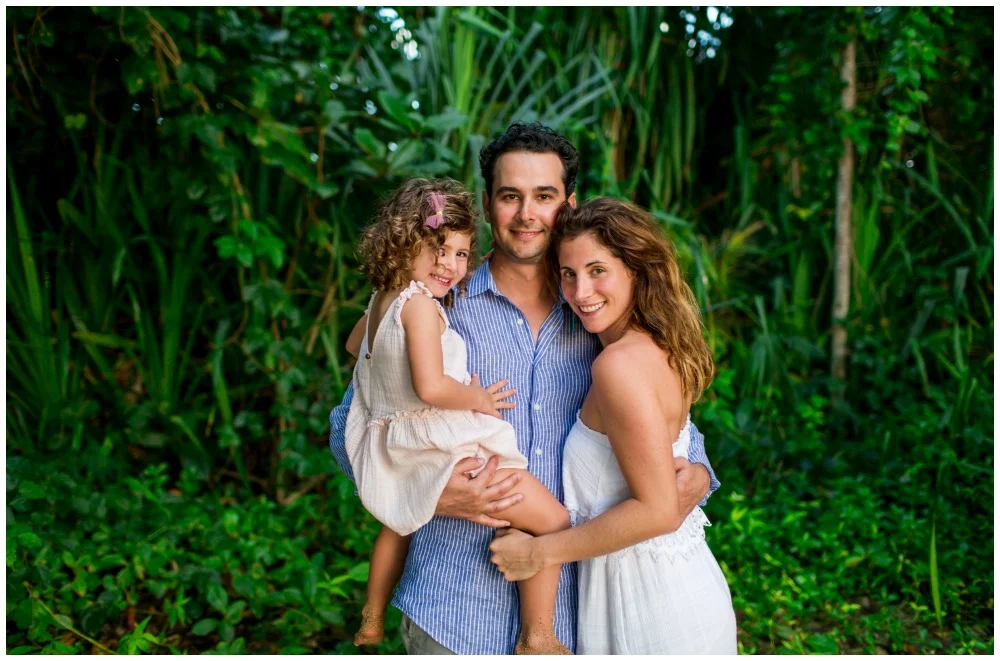
4.  “If it bends, bend it”. Standing stiff and straight will only show that you are uncomfortable and not relaxed. If you bend your arms and shift your weight to the back so your front knee is slightly bent, or tilt your head into your partner the photos will look more natural.  If you feel uncomfortable, your photos will show this. 

5.  Do not always stare deeply into the camera. Look past the camera or down over your shoulder to provide a different emotion and variety to your images. 

6.  Do something with your hands. Leaving your arms pressed against your sides is just not pretty. (This is not the case for everyone.) This can be avoided by slightly bending them at the elbow and puling them away from your body:  putting them on your hips, holding an object, or placing them in front or back pockets. 

7.  Too much smiling may mean your face will get stiff. If you feel this happening take a deep breath and breathe out through your mouth. Still feeling stiff? Do the “pufferfish”, where you blow up their cheeks and then let it all out. This helps your face to relax and your pictures will look more natural.

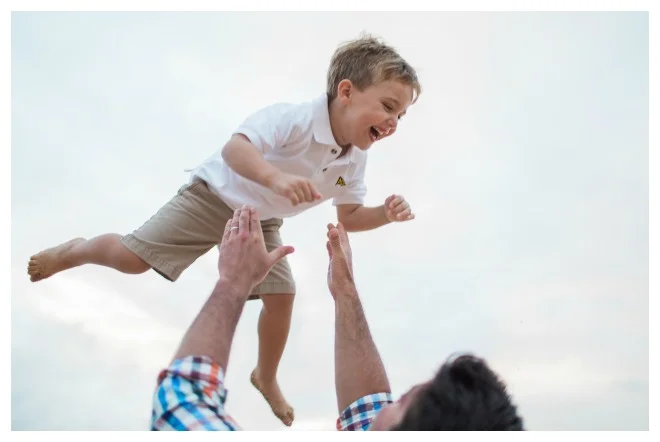
8.  Be open, try new things.  Most likely your photographer will try to get a lot of fun, candid shots, but will also help pose you in ways that may be new and different to you. Relax and go with it! 

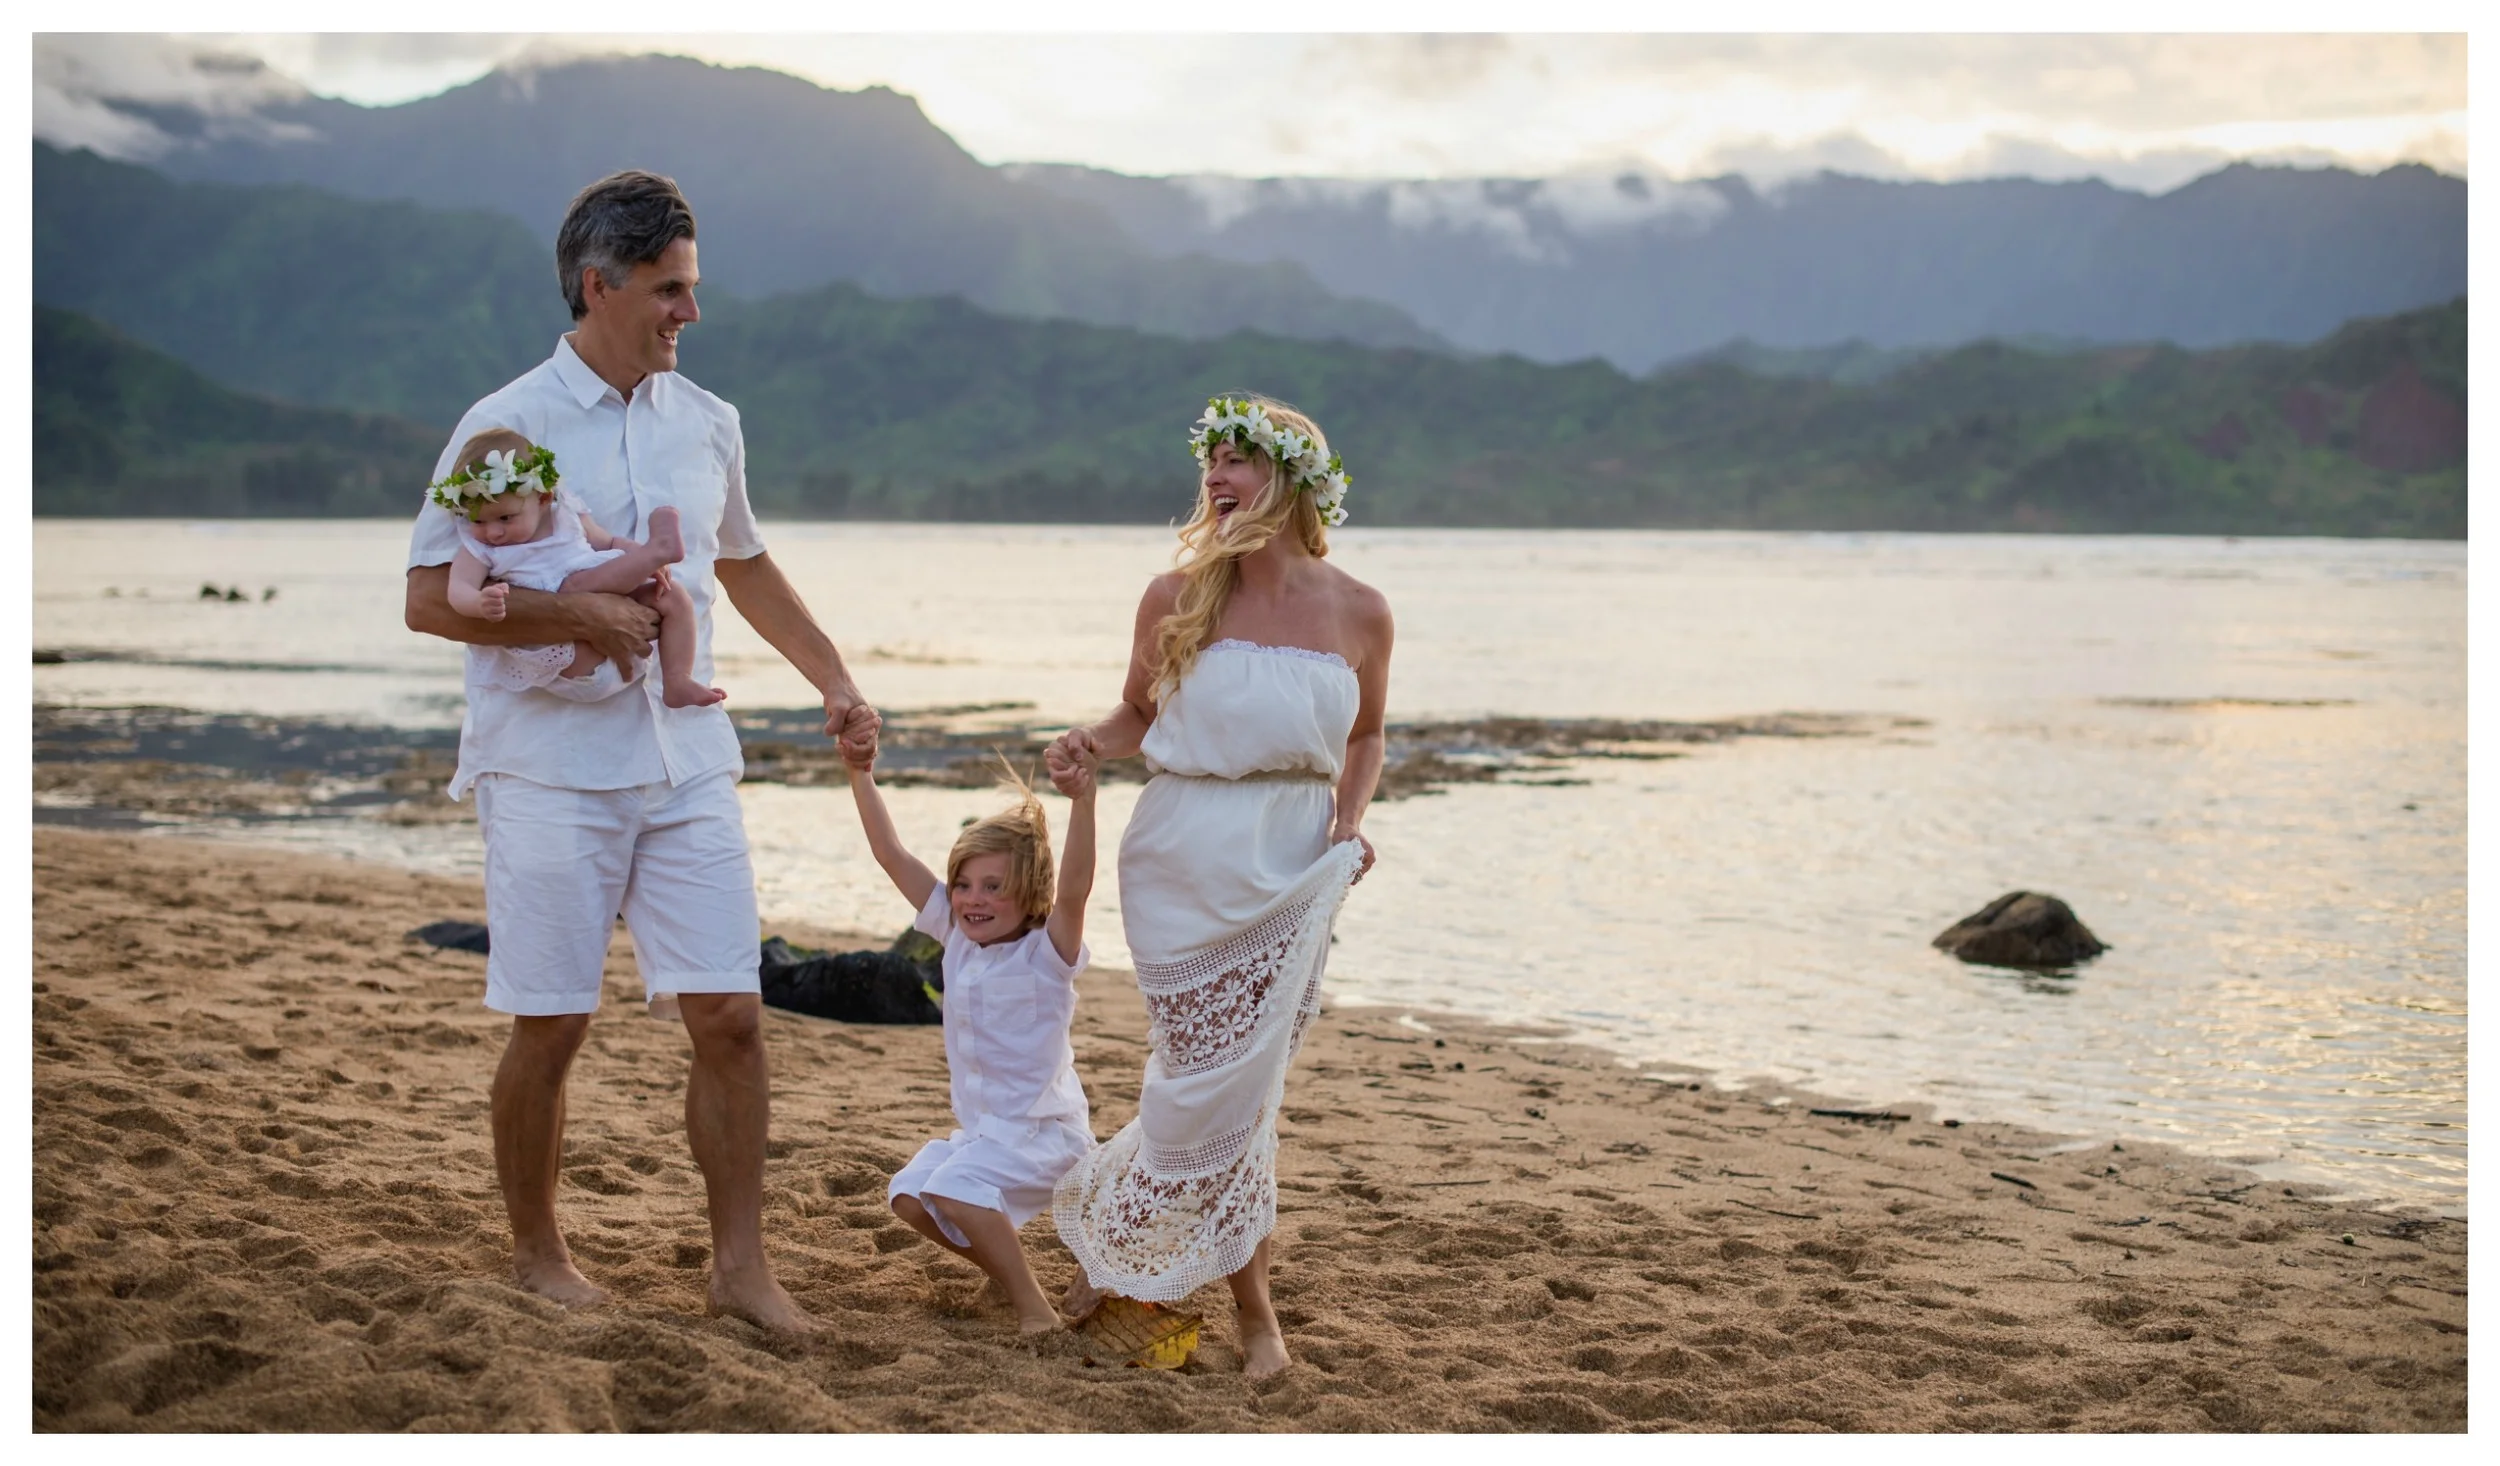
Enjoy your session and ultimately have fun!!  

-written by Alyssa (Pacific Dream Photography at the St. Regis Princeville)

1 Comment

Exposure Explained || One Easy Tip From a Professional Photographer

Comment

Exposure Explained || One Easy Tip From a Professional Photographer

Have you ever wondered just what it takes to get a “goodsunset picture? Cameras have become so readily available to us now with the digital age and camera phones, which seem to take decent pictures, but there’s much more to it than just pushing a button, right? Well, of course there is!

Photography is a wonderful art form, but it can be complicated. One of the most important components of photography is exposure. This is the balance between shutter speed, ISO, and aperture. Although, most cameras these days have an “auto mode”, this simple setting does not capture the best image. 

When it comes to exposure, there is no right or wrong. Photography is art and every artist has a different vision. Most of us are not attempting to communicate deep or even simple messages with our images, we are purely trying to capture the moment. In this case, there is a trick!

Unlike film, digital photography is limited and can only capture so many levels of light in a single click. The trick, especially when photographing a sunset experience session, is to avoid over exposing an image and losing detail in the sky. If you are composing a sunset with a foreground, typically the foreground is much darker, which confuse a camera’s exposure meter. The camera might try to balance the exposure, preserving detail in the dark foreground, while losing detail in the sky.

The trick is to underexpose the picture slightly, exposing for the bright sky. This will let the foreground go dark. It is much easier to recover detail in the shadow portion of a digital image when editing than it is to recover the highlights and brighter areas. Lost detail in the highlights are nearly unrecoverable. 

One recommendation would be to set the +/- (exposure compensation) to -1/3 so the camera will automatically underexpose. This technique is actually called “push processing” and will make your pictures have more vibrant and saturated colors, with greater contrast. 

A rule of thumb to keep in mind: underexpose slightly to preserve highlights and edit to bring back shadow detail. Happy shooting!

-written by Michael (Pacific Dream Photography at Grand Hyatt, Kauai)


Comment

On The Beach

Comment

On The Beach

The Lockhart family came in for a sunset session at our Fairmont Orchid location on the Big Island of Hawaii. It was a lovely shoot as the family strolled the beach, even spotting some awesome sea turtles along the way. Check out our favorite pics from the shoot.

Comment

Angel Eyes

Comment

Angel Eyes

Cute kids with big green eyes make our jobs that much easier. The Babu family came to the Andaz Maui for a fun and informal shoot. Check out some of our favorite shots from the session below.

Comment